

Description
With this wheel alignment tool, you can return the struts to their original camber position after removing and installing the suspension or check the camber change before reinstalling.
Suitable for accurate checking of caster and camber, it can be easily attached to various metal surfaces.
Features:
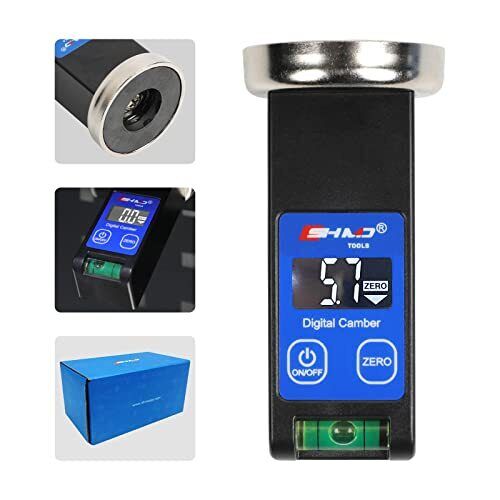
1.Precision Wheel Alignment Tool – Magnetic Gauge is a professional tool for positioning the camber and rear camber of your wheels or brake discs to help you accurately check the amount of camber change before reinstallation or return the shock absorber to its original lintel position after disassembly and assembly of the suspension. Provides an accurate numerical reference for you to adjust the wheel orientation angle.
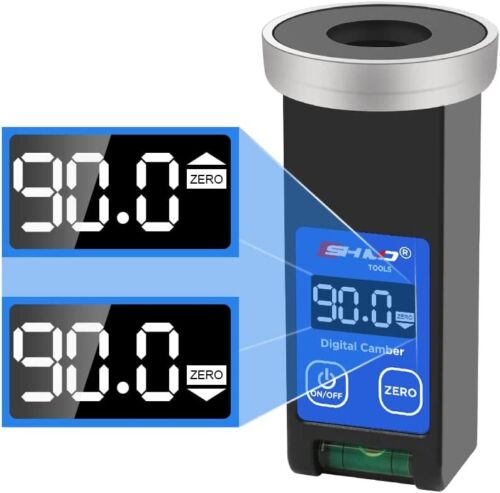
2.LED Digital Display and Positioning Bubble — The digital alignment gauge reads the tilt value via LED screen. Compared to the horizontal tube scale of the conventional crash gauge, the change in value is easier to see and can be seen at a glance even in a dark environment. When using the fall gauge, centring the positioning level can help make the test results more accurate.
3.Magnetic Base & Measuring Angle ±90° – The base of the Adjustable Wheel Orientation has a strong magnet, the outer diameter is 45mm, the adsorption area is smaller than the base area of most fall gauges on the market, and the small contact area makes the accuracy more accurate. The measurable angular range ranges from -90° to +90°. Down Arrow indicates an outward tilt, and Up Arrow indicates an inward tilt.
4.”ON 0FF” & “ZERO” button — “ON 0FF” button: Click to power on, press and hold for three seconds to power off. “ZERO” button: Reset button, click to reset the value to 0, adjust the eccentric screw so that the digital wheel alignment shows the expected value. It is suitable for wheel tilt angle positioning and repair of all vehicles and can also be used for replacement measurement of rear tie rods.
Easy to use:
1. Use the fall gauge to determine which camber angle of the tyre needs to be adjusted;
2. Remove the fall trailing gauge and remove the tyre;
3. Attach the camber gauge to the brake disc and adjust the positioning bubble to the centre;
4. Press the “ON/OFF” button to power on, after the number on the interface is stable, press the “ZERO” button to reset (the interface will display “0.0” and “NULL” at the same time);
5. Replace the screw on the shock absorber of the original car with an eccentric screw.
6. Adjust the eccentric screw so that the camber angle reaches the expected value and tighten the eccentric nut with a torque wrench (“arrow up” means tilt inwards, so the value must be adjusted downwards; “Down arrow” means tilt outwards, so the value must be adjusted upwards);
7. Mount the tyre, measure the camber angle again and correct other angles (If there is a slight deviation when testing the camber angle again, make a fine adjustment under the vehicle. In general, a slight deviation does not result in a positioning error).